Introduction
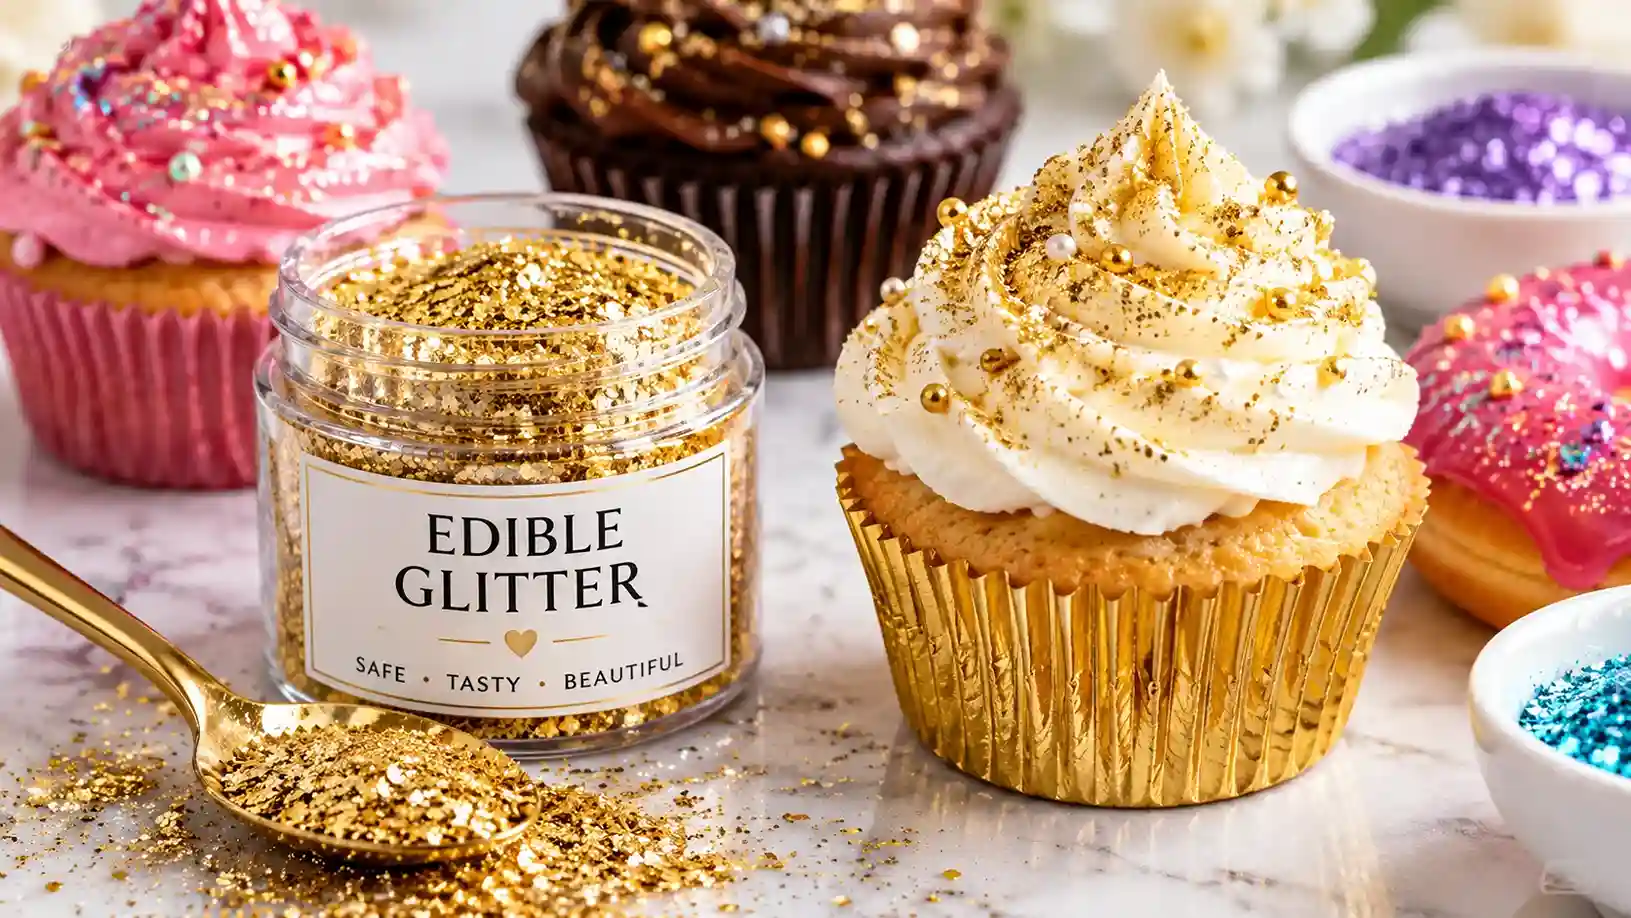
Edible glitter transforms ordinary cakes into showstopping centerpieces. But choosing the wrong product or applying it incorrectly can ruin your dessert—or worse, make it unsafe to eat. This guide gives you the exact knowledge professional bakers use to create safe, stunning sparkle on every cake, cupcake, and confection.
What Is Edible Glitter and How Does It Differ from Craft Glitter?
Edible glitter is a food-grade decoration made from ingredients approved for consumption. Unlike craft glitter, which often contains plastic or metal fragments, edible glitter typically uses sugar, gum arabic, maltodextrin, cornstarch, and FDA-approved color additives including mica-based pearlescent pigments . The critical distinction lies on the label. Products marked “edible” include full ingredient lists and are safe to eat. Products labeled “non-toxic” or “for decorative purposes only” are not intended for consumption and should be removed before serving .
Key differences at a glance:
| Feature | Edible Glitter | Craft / Non-Toxic Glitter |
| Intended for eating | Yes | No |
| Label requirement | Full ingredient list | May omit ingredients |
| Common ingredients | Sugar, gum arabic, mica | Plastic, metal, unknown materials |
| Safe on food directly | Yes | No—remove before serving |
Is Edible Glitter Actually Safe to Eat? The FDA Rules You Must Know
The U.S. Food and Drug Administration explicitly advises bakers to avoid using non-edible glitter and dust products on foods. The agency has flagged products sold as luster dust, disco dust, twinkle dust, and sparkle dust that are not manufactured for consumption . Edible glitter products must carry an ingredient list. If a label lacks ingredients or states “for decorative use only,” treat that product as inedible.
Safety checklist before you buy:
- Look for the word “edible” on the front label.
- Confirm a complete ingredient list exists.
- Avoid products with only “non-toxic” claims.
- If you have sensitivities, look for allergen statements.
Following these rules ensures your sparkling dessert is both beautiful and safe for every guest.
Edible Glitter vs. Luster Dust vs. Disco Dust: What’s the Real Difference?
These terms get used interchangeably, but they produce different effects and serve distinct purposes.
Edible glitter creates visible, light-catching sparkle. It ranges from fine shimmer to larger flakes and works best on buttercream, cookies, and chocolate .
Luster dust is an ultra-fine powder with a pearl-like sheen. Brushed dry, it gives fondant a soft glow. Mixed with clear alcohol, it becomes edible metallic paint . Luster dust is not the same as glitter—it lacks the distinct sparkle flakes.
Disco dust (sometimes called sparkle dust) is a finer, glitter-like product. However, some “disco dust” products are non-edible plastic glitter. Always verify the label says edible .
Quick selection guide:
| Product | Best For | Finish |
| Edible glitter (fine) | Cupcakes, cookies, drinks | Delicate sparkle |
| Edible glitter (flakes) | Cake sides, statement pieces | Bold, reflective shimmer |
| Luster dust | Fondant flowers, painted details | Pearl or metallic sheen |
| Disco dust (edible only) | Full-coverage sparkle | Intense glitter effect |
The Complete Table: Choosing the Right Edible Sparkle for Your Dessert
| Product Type | Best Surface | Application Method | Drying Time | Common Colors |
| Fine edible glitter | Buttercream, ganache, icing | Sprinkle or pump spray | Immediate | Gold, silver, pink, rainbow |
| Edible glitter flakes | Fondant, firm frosting | Press by hand or brush | 30 minutes to set | Silver, gold, bronze, blue |
| Luster dust (dry) | Fondant, gum paste | Soft brush | Immediate | Pearl, gold, rose gold |
| Luster dust (wet) | Chocolate, fondant details | Mix with clear alcohol, paint | 5–10 minutes | Metallic gold, silver |
| Edible glitter spray | Large surfaces, tiered cakes | Mist from 15–20 cm | 2–3 minutes | Pink, silver, gold |
How to Apply Edible Glitter to Buttercream and Frosting
Timing matters more than technique here. Edible glitter adheres best to a slightly tacky surface. Apply it while buttercream is fresh and still sticky—not after it has crusted .
Step-by-step method:
- Finish frosting your cake and let it rest for 10–15 minutes until a light skin forms.
- Pour a small amount of edible glitter into a shallow dish.
- Use a clean, soft food-safe brush to flick glitter onto the surface.
- For larger areas, use a pump spray bottle and mist from 6–8 inches away.
- Work over parchment paper to catch excess glitter for reuse.
Pro tip: Start with less glitter than you think you need. A little catches light dramatically, and over-application dulls the effect .
How to Make Edible Glitter Stick to Fondant and Chocolate
Fondant and chocolate need a bonding agent because their surfaces are dry or slick. Water alone can damage fondant; chocolate seizes when exposed to moisture.
For fondant:
- Brush a thin layer of piping gel or corn syrup onto the area.
- Dust glitter over the gel with a soft brush.
- Shake off excess immediately.
For chocolate:
- Apply glitter while chocolate is still wet, right after dipping or molding.
- For dry chocolate surfaces, mix luster dust with a drop of clear alcohol (vodka or Everclear) and paint it on with a fine brush .
Avoid this mistake: Never mix glitter into melted chocolate. The particles clump and create an uneven texture.
Edible Glitter Spray: When to Use It and How to Avoid Over-Spraying
Pump sprays deliver a fine, even mist across large surfaces—ideal for tiered cakes, cupcake batches, and desserts with intricate textures. The risk is oversaturation, which creates a dull, cloudy appearance instead of sparkle.
Best practices for spray application:
- Hold the bottle 15–20 cm from the surface .
- Use short, crisscrossing passes rather than one heavy coat.
- Shake the bottle before each use.
- Stop when the surface looks evenly dusted—excess spray stops adhering once saturated .
Spray works beautifully on fondant, iced cakes, macarons, and molded chocolates. It is less effective on glossy chocolate surfaces, where the glitter effect appears subtler .
Edible Glitter for Cupcakes, Cookies, and Drinks
Cupcakes: Sprinkle fine glitter over freshly piped buttercream swirls. The ridges catch light and create dimension. For a party platter, apply glitter to every other cupcake for visual contrast.
Cookies: Apply glitter while royal icing is still wet for full coverage. For detailed designs, mix glitter with a few drops of lemon extract and paint specific areas .
Drinks: Ultra-fine edible glitter (sometimes called “drink glitter”) stays suspended in liquids for 15–20 minutes. Add 1/8 teaspoon per glass to champagne, mocktails, or lemonade. Gold, silver, and pink show best in clear liquids .
Caution: Only use products explicitly labeled edible for drinks. Non-edible decorative dusts are not formulated for liquid consumption.
Common Mistakes That Ruin the Sparkle (and How to Fix Them)
Mistake 1: Using craft glitter. Craft glitter is plastic or metal. It is not digestible. Always check the label.
Mistake 2: Applying to dry frosting. Glitter needs tack. If frosting has crusted, lightly brush the surface with water or a thin simple syrup before applying.
Mistake 3: Over-applying. More glitter does not mean more sparkle. Excess product looks powdery. Start sparse and build.
Mistake 4: Storing decorated cakes improperly. Glitter can absorb moisture and lose shine. Keep finished desserts in a cool, dry place away from steam .
Mistake 5: Ignoring allergen information. Some edible glitters are packaged on equipment that handles wheat, eggs, milk, or nuts. Check the allergen statement if serving guests with allergies .
Storing Edible Glitter for Maximum Shelf Life
Edible glitter and dusts degrade when exposed to moisture, heat, or direct light. Keep containers tightly sealed in a cool, dry location away from the stove or dishwasher .
Storage guidelines:
- Transfer large containers into smaller airtight jars for daily use.
- Label jars with purchase dates.
- Discard any product that has clumped, hardened, or changed color.
- Most edible glitters remain usable for 12–24 months when stored properly.
Never store edible glitter in the refrigerator. Condensation introduces moisture each time the container is opened.
How Much Edible Glitter Do You Actually Need?
A little goes a long way. One small container of edible flakes covers a five-inch cake and can stretch to a seven-inch cake . For fine glitter dust, 1–2 grams is enough for a dozen cupcakes.
Estimated quantities:
| Dessert | Fine Glitter | Flakes | Spray |
| 12 cupcakes | 1–2 g | 3–5 g | 5–8 short bursts |
| 6-inch cake (top only) | 2–3 g | 5–8 g | 10–15 passes |
| 8-inch tiered cake | 5–8 g | 15–20 g | 30–40 passes |
| 24 cookies | 3–4 g | Not ideal | 10–12 bursts |
Buy small quantities first. Edible glitter loses efficacy over time, and a full jar often lasts multiple projects.
Frequently Asked Questions
Can I use edible glitter on cream cheese frosting?
Yes, but apply it quickly. Cream cheese frosting stays soft and tacky longer than buttercream, so glitter adheres easily. Sprinkle lightly and avoid pressing hard, which can smudge the frosting.
Is edible glitter gluten-free?
Not always. Some products use wheat-based ingredients or are packaged on shared equipment. Check the allergen statement and look for a certified gluten-free label if needed .
Can I put edible glitter in the oven?
No. Edible glitter is a finishing decoration. Heat can melt sugar-based glitters, discolor pigments, or cause clumping. Always apply after baking and after frosting has set.
Does edible glitter dissolve in liquid?
Fine drink-grade glitter stays suspended but does not fully dissolve. Larger flakes may sink. Stir gently before serving to redistribute the shimmer.
How do I remove edible glitter from a cake if I change my mind?
You cannot easily remove applied glitter. If you have not yet frosted, apply glitter to a test surface first. Once applied, the sparkle is permanent—choose your design confidently.
Can children eat edible glitter?
Yes, if the product is labeled edible and contains no allergens your child reacts to. However, very young children should be supervised, and glitter should never be inhaled. Avoid loose glitter around infants.
Conclusion
Edible glitter gives you a powerful tool for turning simple desserts into memorable celebrations. The secret to success is simple: verify the label says edible, match the product to your surface, and apply with restraint. Your next cake can shine brilliantly—and safely—with the right sparkle in the right place.